120 Lester Ln, Los Gatos, CA 95032
Mon-Sun 07:00 AM - 09:00 PM

Upgrading your home’s electrical system is one of the smartest investments you can make—improving safety, functionality, and even property value. But before diving into a project, it’s important to understand the costs involved.
In this guide, we’ll break down pricing for the most common electrical upgrades in San Jose, including:
We’ll also explore what factors influence pricing and how to budget wisely for your project.
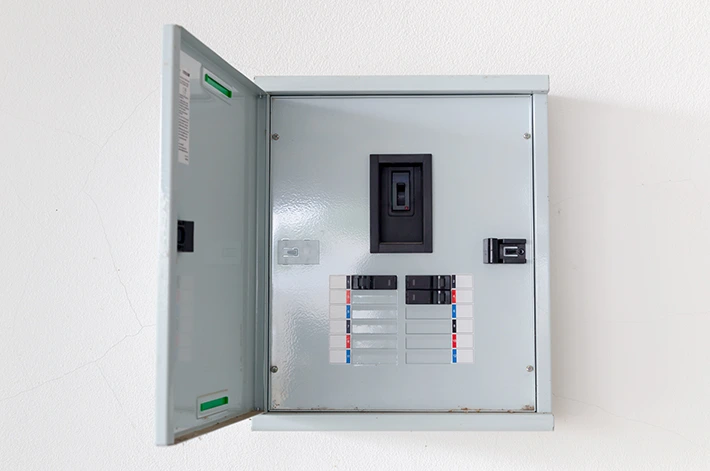
Older homes often have 60-100 amp panels that can’t handle modern power demands. Upgrading to 200 amps ensures:
|
Service
|
Price Range
|
What’s Included
|
|---|---|---|
|
100A to 200A Upgrade
|
3,500–5,500+
|
New panel, breakers, permits, labor
|
|
Replace Federal Pacific/Zinsco Panel
|
2,000 - 4,000
|
Hazardous panel replacement
|
|
Add Subpanel
|
1,000 - 2,000
|
Extra capacity for additions, shops, or solar
|
Note: Costs vary based on panel brand (Square D, Siemens, Eaton), permit fees and other factors to be determined during the estimate visit.
Rebates Available: PG&E and federal tax credits can save $500 – 1,000.
When it comes to upgrading your home’s lighting and outlets, the final price isn’t just about counting fixtures and multiplying by an hourly rate. Several factors quietly nudge the cost up or down, and understanding them can help you budget smarter for your project.
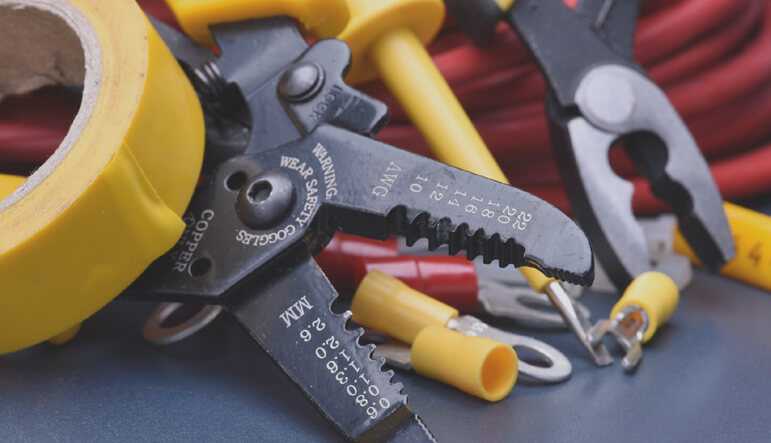
First, consider what’s hiding behind your walls. If your home was built before the 1980s, there’s a good chance the existing wiring isn’t up to modern standards. Older homes often need additional work like replacing knob-and-tube wiring or upgrading undersized electrical boxes before new fixtures can be safely installed. This “unseen prep work” can add significantly to the project cost but is absolutely necessary for safety.
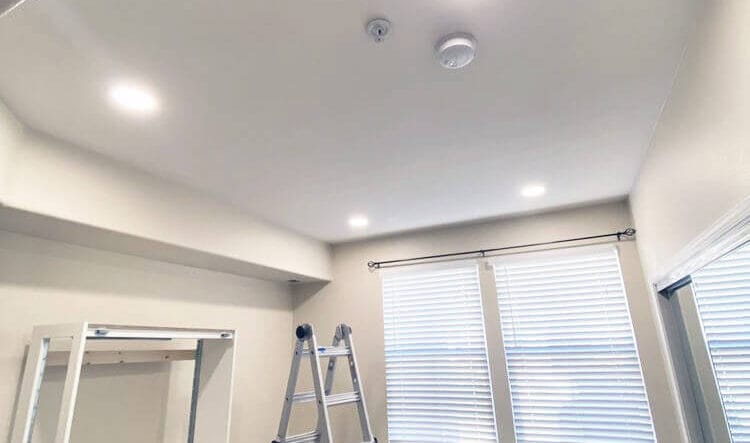
The type of lighting you choose makes a big difference too. Basic ceiling light swaps are relatively straightforward, but recessed lighting requires cutting precise holes, running new wiring routes, and sometimes adding insulation barriers. Smart lighting systems with dimmers and automated controls need more labor for proper programming and integration with your home network.
Outlet upgrades follow a similar pattern. A simple outlet replacement might cost very little, but installing new GFCI outlets in kitchens and bathrooms requires careful circuit testing and proper grounding. If you’re adding USB outlets or higher-capacity circuits for home offices, the price climbs because these require heavier-duty wiring and sometimes panel upgrades.
Location matters more than you might think. Second-story fixtures take longer to install than ground-level ones. Hard-to-reach areas like vaulted ceilings or finished basements require special equipment and extra time. And if your home has plaster walls instead of drywall, electricians need to work more carefully to avoid cracking.
Permits and inspections are another factor many homeowners forget about. While replacing a few existing fixtures typically doesn’t require permits, major lighting overhauls or new circuit installations often do. These legal requirements add to the project cost but protect you by ensuring everything meets current safety codes.
The quality of materials you select also affects the bottom line. Builder-grade fixtures cost less upfront but may need replacing sooner. Commercial-grade LED fixtures and hospital-grade outlets cost more initially but last significantly longer and perform better.
Finally, the little things add up – wall repair after wiring work, disposing of old fixtures properly, even the time of year (attics get brutally hot in summer) can all influence the final number your electrician quotes.
Let’s face it – electrical work isn’t where most homeowners want to splurge. But here’s the good news: there are completely safe ways to keep costs down while still getting professional results. We’ve seen plenty of San Jose homeowners upgrade their systems without breaking the bank, and here’s how they do it.
First, timing matters. Schedule your electrical work during slower seasons (typically late fall through winter) when electricians aren’t swamped with emergency calls. Many contractors offer better rates during these months to keep their crews busy. We recently helped a family save nearly 15% just by moving their panel upgrade from May to November.
Bundle your projects like you’re at Costco. Need new kitchen lighting and bathroom outlets? Doing them together means paying for just one service call fee instead of two. Electricians can often combine tasks in a single visit – maybe adding those outdoor security lights while they’re already upgrading your panel.
Here’s a little-known tip: ask about “like for like” replacements first. If you’re happy with your current lighting layout but just want safer wiring, keeping fixtures in the same locations avoids costly drywall repairs and rewiring. One customer saved $800 on her kitchen remodel by maintaining her existing ceiling light positions rather than moving them.
Scout for rebates like you’re hunting for coupons. PG&E regularly offers cash back for energy-efficient upgrades – I’ve seen rebates per smart dimmer switch and for whole-home lighting retrofits. The Bay Area’s Clean Energy program sometimes chips in too, especially for panel upgrades that enable solar connections.
Consider doing the “before and after” work yourself. While licensed pros should handle the actual electrical work, many will let homeowners handle demolition (removing old fixtures) or repainting afterward. Just clear this with your electrician first – safety first!
Buy your own fixtures (but be smart about it). While electricians mark up materials for convenience, purchasing your own LED lights or designer switches can save money if you:
Don’t overlook smaller contractors. While big companies have shiny trucks, local electricians with smaller overhead often provide better rates for straightforward jobs. Just verify their license and insurance – the CSLB website makes this easy.
Finally, think long-term. Spending $200 more on commercial-grade outlets might seem steep today, but when they outlast builder-grade versions by 10+ years, you’ll come out ahead. Same goes for energy-efficient lighting that slashes your power bills month after month.
The biggest money-saver of all? Fixing small issues before they become emergencies. That slightly warm outlet or occasionally tripping breaker costs pennies to address now compared to what it could cost after causing damage.
Electrical upgrades are an investment in your home’s safety, efficiency, and future-proofing. While costs vary, hiring a professional ensures the job is done right—saving you money and headaches long-term.
The best approach? Have a professional evaluate your specific situation. What looks like a simple upgrade might reveal hidden needs, or conversely, you might discover opportunities to bundle projects and save. Either way, understanding the cost factors helps you make informed decisions about your home’s electrical upgrades.
| M | T | W | T | F | S | S |
|---|---|---|---|---|---|---|
| 1 | ||||||
| 2 | 3 | 4 | 5 | 6 | 7 | 8 |
| 9 | 10 | 11 | 12 | 13 | 14 | 15 |
| 16 | 17 | 18 | 19 | 20 | 21 | 22 |
| 23 | 24 | 25 | 26 | 27 | 28 | 29 |
| 30 | 31 | |||||
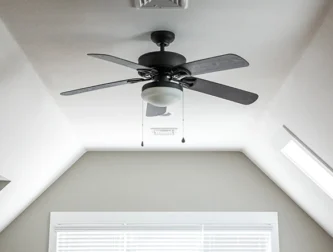
Installing a ceiling fan can improve air circulation, reduce energy co
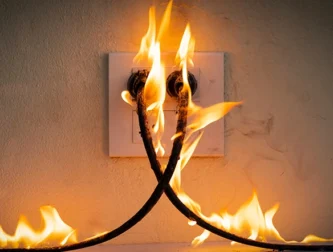
From brightening up your space to preventing threats like electrical f